In the modern world of digital finance, securing your cryptocurrency is more important than ever. While exchanges provide a convenient way to buy and sell digital assets, leaving your coins on them exposes you to hacking risks and potential losses. This is where hardware wallets like Trezor come in, offering a secure way to store and manage your crypto offline. If you’ve just purchased a Trezor device, getting started is simple and can be completed in a matter of minutes. This guide will walk you through the steps to set up your Trezor and protect your digital assets effectively.
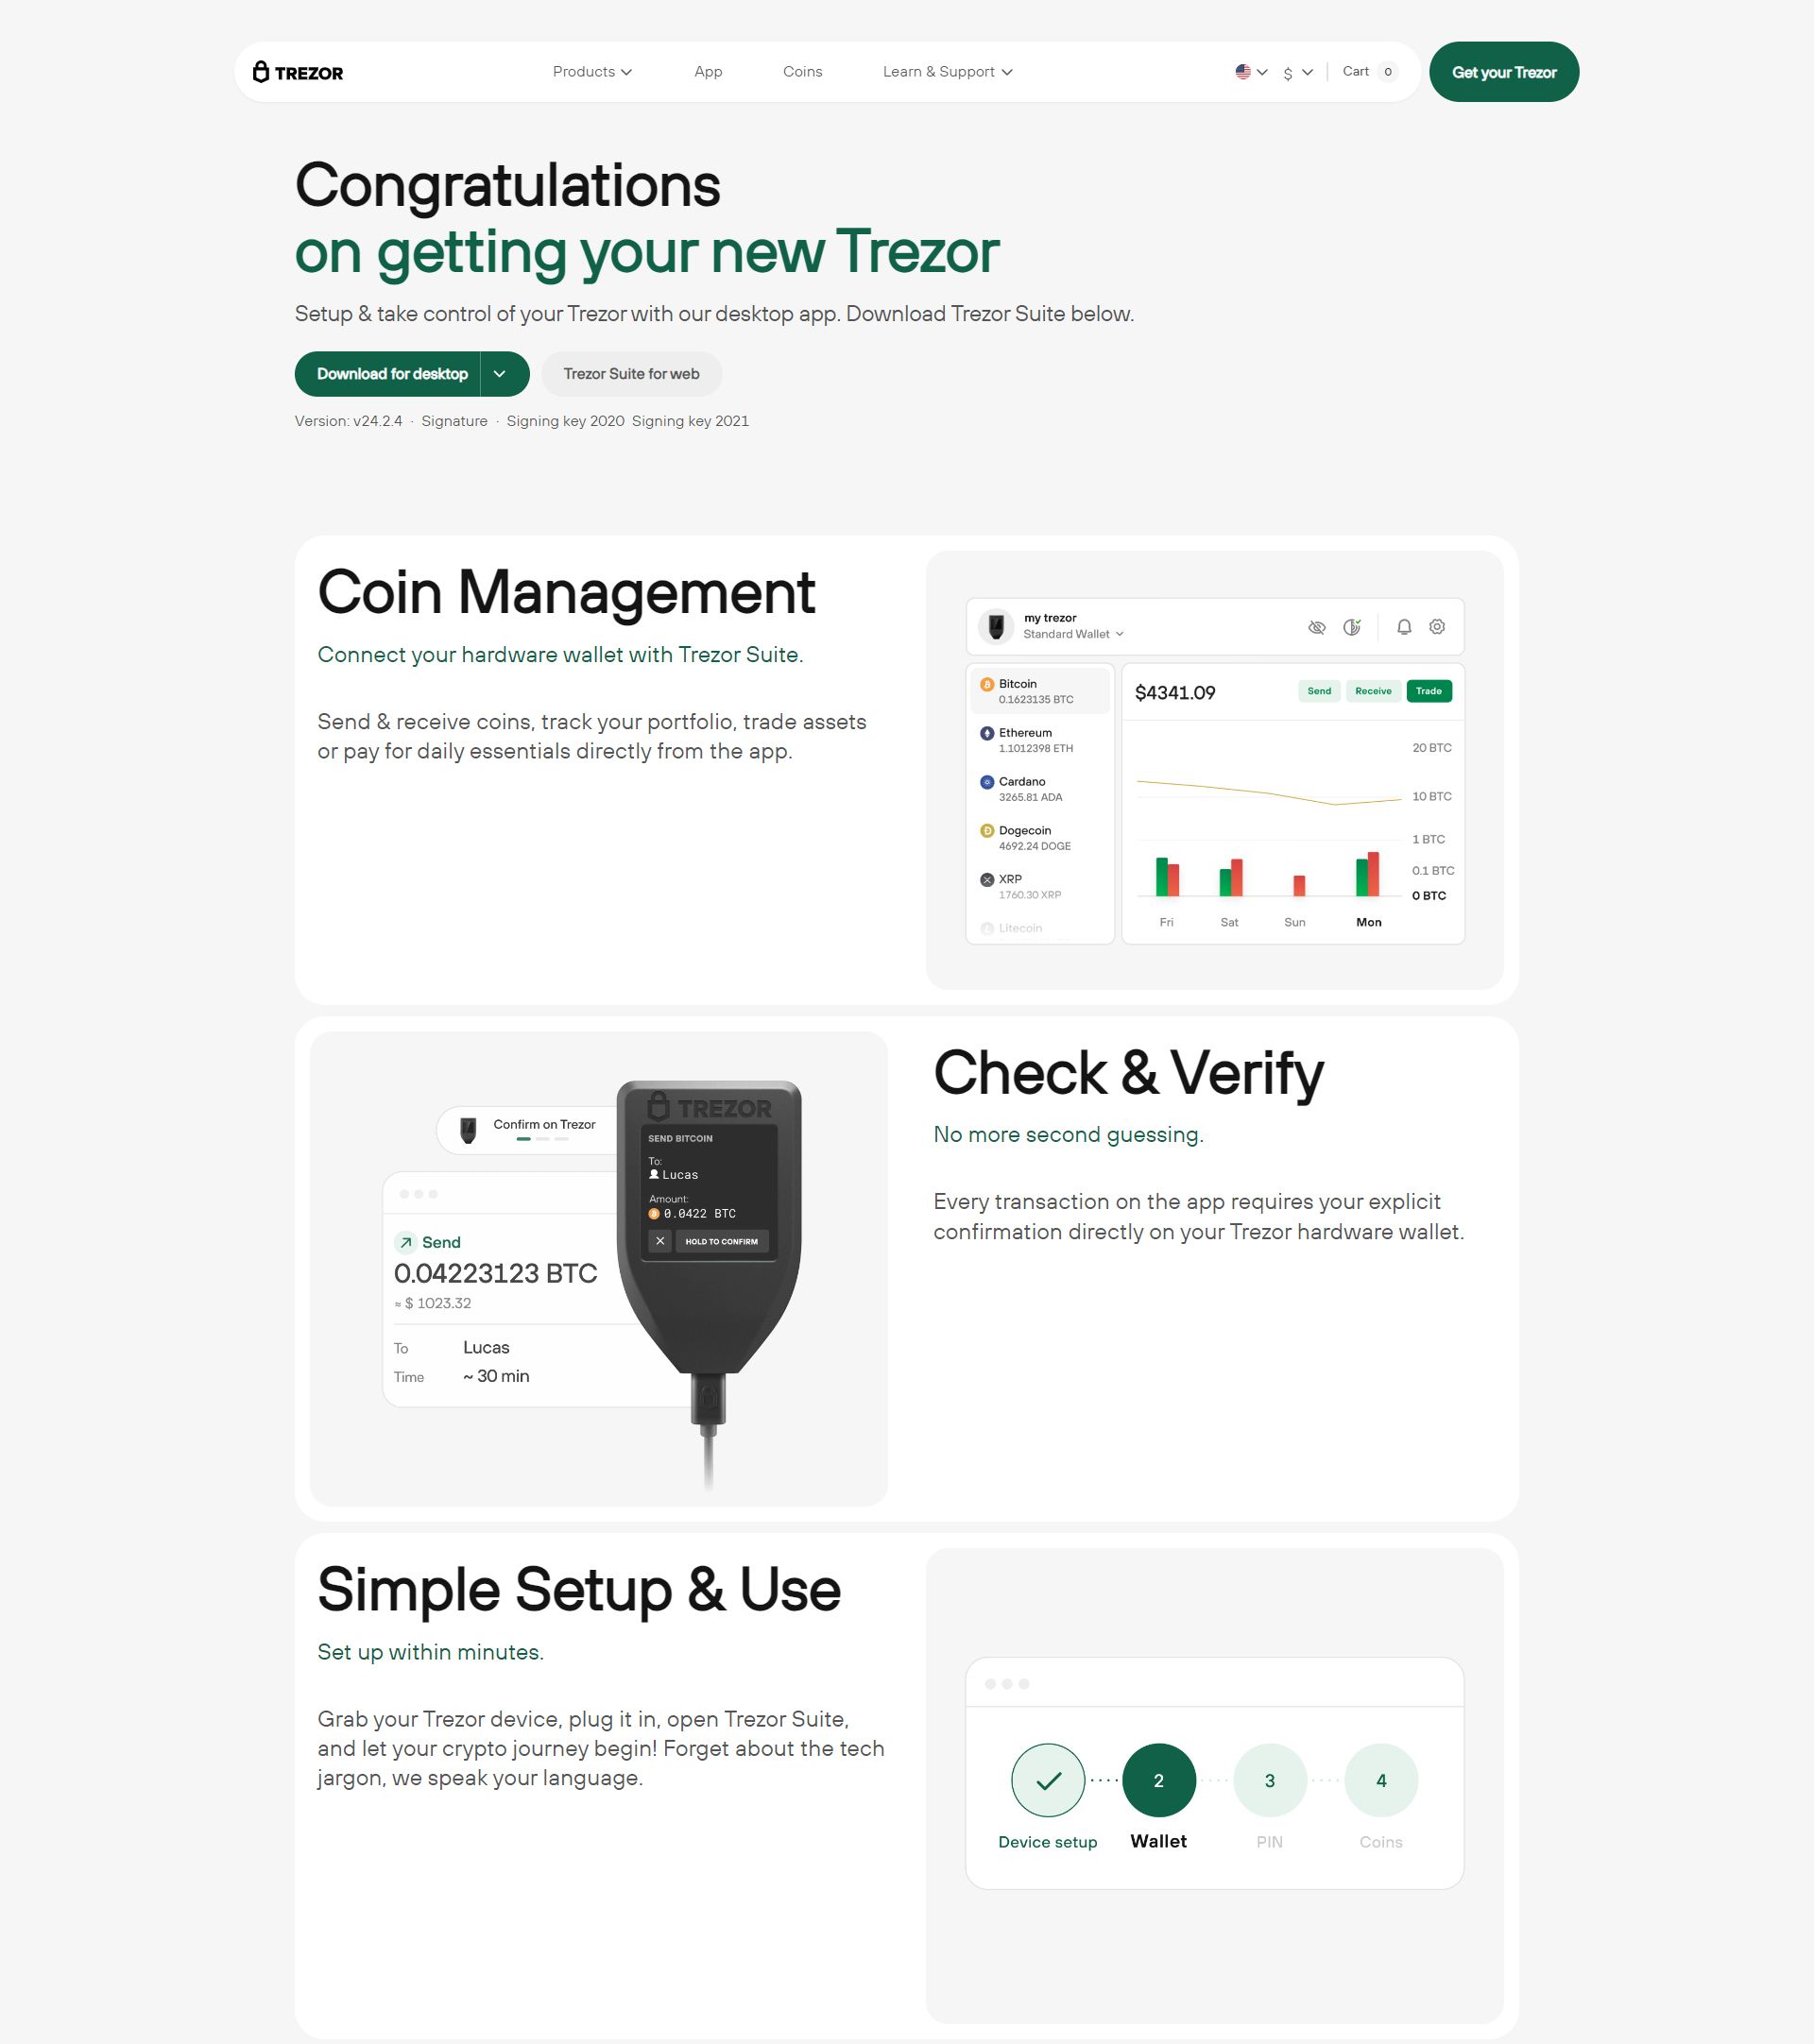
The first step in using your Trezor is to download the Trezor Suite application. Trezor Suite is a dedicated platform designed to manage all your cryptocurrencies in one place. The application is available as a desktop download for Windows, macOS, and Linux, but you also have the option to use it in a web browser. For the best experience, it is recommended to install the desktop version, as it provides smoother navigation and more advanced features. The download process is straightforward, and installation usually takes only a few minutes.
Once you have downloaded the Trezor Suite, the next step is installing it on your computer. The installation process is simple: follow the on-screen instructions to complete the setup. If you prefer to use the web version, this step is not required, and you can access all necessary features directly through your browser. Either way, Trezor Suite acts as the central hub for managing your cryptocurrency, allowing you to view balances, send and receive coins, and monitor transactions securely.
With the application ready, it is time to set up your Trezor device. Begin by connecting the hardware wallet to your computer using the provided USB cable. Once connected, the device will guide you through the setup process, which typically takes around 15 minutes. The setup includes initializing the device, creating a new wallet, and generating a secure recovery phrase. The recovery phrase, often called a seed, is crucial because it allows you to restore your wallet in case the device is lost or damaged. It is essential to write this phrase down and store it in a safe location that only you can access. Avoid storing it digitally or sharing it with anyone.
After your Trezor is initialized and secured with a recovery phrase, you are ready to add your cryptocurrencies to the device. If you already have coins stored on an exchange, you can transfer them to your Trezor wallet to keep them safe. The Trezor Suite application provides clear instructions for moving assets securely from exchanges to your hardware wallet. Using a hardware wallet ensures that your private keys, which are needed to access and control your funds, never leave the device, greatly reducing the risk of hacks or theft.
For users who prefer additional guidance, Trezor offers personalized onboarding sessions. These sessions are conducted online and provide one-on-one support from a Trezor expert. During the session, the expert helps with wallet setup, explains key features, and answers any questions you may have. Each session lasts approximately 60 minutes and ensures that you understand how to use your hardware wallet safely and effectively. Personal onboarding is particularly helpful for individuals new to cryptocurrency or those who want to make sure their assets are fully protected from the start.
Once your Trezor is set up and funded with cryptocurrencies, you can explore its full range of features. The device supports a wide variety of coins, allowing you to manage multiple assets in one secure location. Trezor also integrates with third-party wallets, providing additional options for asset management. Beyond storing coins, Trezor offers advanced security features such as passphrase protection and PIN codes, giving you multiple layers of defense against unauthorized access.
It’s worth noting that the Trezor device and Trezor Suite are continually updated to improve security and functionality. Regular updates help protect against emerging threats and ensure compatibility with new cryptocurrencies. Users are prompted to install updates through the application, which usually takes only a few minutes and enhances the overall security of their wallet.
In addition to securing cryptocurrencies, Trezor helps educate users about safe practices in the digital finance world. By encouraging the use of strong passwords, secure backups, and cautious handling of recovery phrases, Trezor promotes a proactive approach to digital asset protection. Following these best practices significantly reduces the risk of losing funds due to human error or malicious activity.
In conclusion, setting up a Trezor hardware wallet is a straightforward process that dramatically increases the security of your cryptocurrency holdings. By downloading the Trezor Suite, installing the application, initializing your device, and transferring your coins, you create a robust system to manage digital assets safely. For those seeking extra assurance, personalized expert sessions provide step-by-step guidance. Once fully set up, your Trezor wallet allows you to manage a wide variety of cryptocurrencies securely while maintaining peace of mind knowing your private keys are always protected. Taking the time to properly configure and safeguard your wallet ensures that your digital wealth remains in your control, away from the risks associated with online storage.
If you want, I can also create a slightly more casual, reader-friendly version of this 800-word article that feels more engaging while keeping all the instructional content. Do you want me to do that?